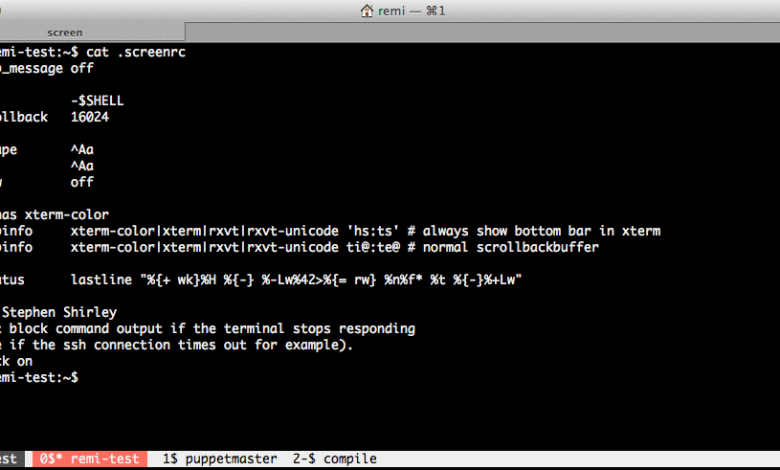
The screen command is a terminal multiplexer that allows you to manage multiple terminal sessions within a single window. It is particularly useful for managing long-running processes or remote sessions because it lets you disconnect from a session and reconnect later without disrupting the processes.
Key Features of screen
- Run multiple terminal sessions simultaneously.
- Detach from a session and reconnect later.
- Preserve long-running processes even after disconnecting from SSH.
- Split the terminal window into multiple regions.
- Scrollback buffer to review previous output.
Installing screen
On Linux
For most Linux distributions, screen is available in the default package manager:
- Ubuntu/Debian:
sudo apt install screen - CentOS/RHEL:
sudo yum install screen - Fedora:
sudo dnf install screen
On macOS
screen comes pre-installed on macOS. You can verify by typing:
screen --versionOn Windows
While screen is not natively available for Windows, you can use it through a WSL (Windows Subsystem for Linux) environment or a Unix-like terminal such as Cygwin.
Basic Usage of screen
1. Start a New Screen Session
To start a new session:
screenThis opens a new terminal window within screen.
To name the session for easier management:
screen -S session_name2. Detach from a Session
To detach from the current screen session without ending it:
Ctrl-a dYou will return to the original terminal, but the session continues to run in the background.
3. List Active Sessions
To view all active screen sessions:
screen -lsExample output:
There are screens on:
    1234.session_name (Detached)
    5678.another_session (Detached)
2 Sockets in /run/screen/S-username.
4. Reattach to a Session
To reattach to a specific session:
screen -r session_nameIf there is only one session, you can simply type:
screen -r5. End a Session
To terminate a session, reconnect to it and type:
exitThis will close the session and its processes.
Advanced Usage of screen
1. Splitting the Screen
Split the terminal window horizontally:
Ctrl-a SMove between regions:
Ctrl-a TabTo create a new shell in the active region:
Ctrl-a c2. Naming Windows
Assign a name to a specific window for better organization:
Ctrl-a AType the desired name and press Enter.
3. Scrolling Back
To enable scrolling within a session:
Ctrl-a EscUse the arrow keys to navigate and press q to exit scrollback mode.
4. Logging Output
Save the session’s output to a log file:
Ctrl-a HThe log will be saved in the current directory as screenlog.0.
5. Locking a Session
To lock a screen session:
Ctrl-a xYou will need to enter your user password to unlock it.
Common screen Commands
| Command | Description |
|---|---|
Ctrl-a c |
Create a new window |
Ctrl-a n |
Switch to the next window |
Ctrl-a p |
Switch to the previous window |
Ctrl-a d |
Detach from the session |
Ctrl-a k |
Kill the current window |
Ctrl-a A |
Rename the current window |
Ctrl-a S |
Split the terminal horizontally |
Ctrl-a X |
Close the current split region |
Practical Use Cases
- Long-Running Scripts: Run a script or process that might take hours, and detach from the session while it continues to run.
screen -S long_process
python script.py
Ctrl-a d
Reconnect later to check progress:
screen -r long_process - Remote Sessions: Use
screenduring SSH sessions to ensure processes are not interrupted by connection drops. - Multiple Terminal Windows: Manage different tasks, such as monitoring logs, running scripts, or editing files, all within a single terminal window.
Conclusion
The screen command is a versatile tool for managing terminal sessions efficiently. Its ability to detach and reattach to sessions makes it indispensable for remote work and long-running tasks. By mastering the commands and features outlined above, you can significantly improve your productivity in terminal-based workflows.