How to Set Up a Local Git Repository on Ubuntu: Step-by-Step Guide

How to Set Up a Local Git Repository on Ubuntu
Git is an essential tool for developers, allowing for efficient version control and collaboration on projects. Setting up a local Git repository on Ubuntu is a straightforward process, perfect for beginners and seasoned developers alike. In this guide, we will walk you through the steps to set up your local Git repository, from installing Git to initializing a repository and managing files.
Prerequisites
Before we dive into the setup process, ensure that you have Ubuntu installed on your computer. You should also have access to the terminal. If you’re unfamiliar with terminal commands, don’t worry; we’ll guide you through each step.
Step 1: Install Git
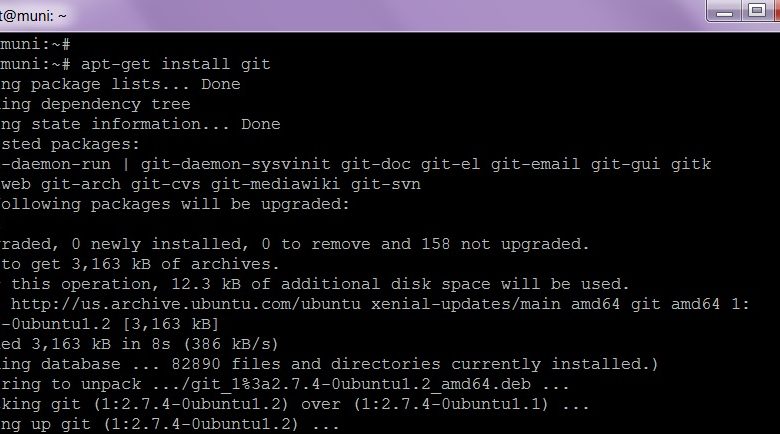
First, you need to install Git on your Ubuntu system. Git is typically available in the default repositories of Ubuntu, making it easy to install via the terminal. Here’s how to do it:
Open your terminal. You can find it in the applications menu or use the shortcut Ctrl + Alt + T.
Update your package list to ensure you have the latest information about available packages. Run the following command:
sudo apt update
Once the package list is updated, install Git by running:
sudo apt install git
After the installation is complete, you can verify that Git is installed correctly by checking its version. Run:
git –version
You should see output similar to git version 2.25.1 (the version number may vary).
Step 2: Configure Git
Before you start using Git, it’s essential to configure it with your user information. This step is crucial because it associates your commits with your identity. You need to set your name and email address. Here’s how to do it:
Set your username:
git config –global user.name “Your Name”
Set your email address:
git config –global user.email “[email protected]”
You can confirm your configurations by running:
git config –list
This command will display all the Git configuration settings you have set, including your username and email.
Step 3: Create a New Directory for Your Repository
Now that Git is installed and configured, it’s time to create a new directory where your Git repository will reside. Here’s how to do it:
Navigate to the location where you want to create your repository. For example, to navigate to your home directory, run:
cd ~
Create a new directory for your project:
mkdir my-project
Change into the newly created directory:
cd my-project
Step 4: Initialize the Git Repository
With your project directory created, the next step is to initialize the Git repository. This action will create a new subdirectory named .git, which will contain all the necessary files for version control.
To initialize your Git repository, run the following command:
git init
You should see a message indicating that an empty Git repository has been created.
Step 5: Add Files to Your Repository
Now that your repository is initialized, you can start adding files. You can create files or copy existing files into your project directory.
To create a new file, use the touch command. For example, to create a README file:
touch README.md
You can open the file in a text editor (like Nano or Vim) to add content. For instance, to edit with Nano, use:
nano README.md
After adding content, save and exit the editor. If you are using Nano, press CTRL + X, then Y, and Enter.
To add your new file to the staging area, use the following command:
git add README.md
To add all files in the directory, use:
git add .
Step 6: Commit Your Changes
After adding files to the staging area, the next step is to commit your changes. This action creates a snapshot of your repository at that moment in time.
To commit your changes, run:
git commit -m “Initial commit”
Replace the message in quotes with a descriptive message that summarizes your changes.
Step 7: Check the Status and Log
You can check the status of your repository and view the commit history at any time.
To check the status of your repository, use:
git status
This command will show you which files are staged, unstaged, or untracked.
To view your commit history, run:
git log
This command will display a list of commits, including their SHA-1 hash, author information, date, and commit message.


