How to Install and Configure Dovecot Mail Server

How to Install and Configure Dovecot Mail Server
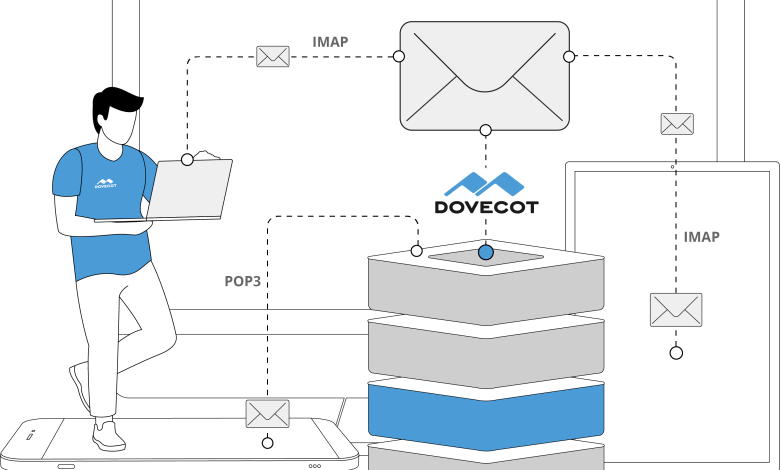
Dovecot is a widely used open-source mail server that provides an efficient and secure solution for managing email services. It supports both the IMAP and POP3 protocols, allowing users to access their emails from various devices. In this article, we will walk you through the process of installing and configuring Dovecot on a Linux server. Whether you are setting up a personal mail server or managing email for a small business, this guide will ensure that you have everything you need to get started.
Prerequisites
Before you begin the installation, make sure you have the following:
Linux Server: You need a server running a Linux distribution. This guide will focus on Ubuntu, but the steps are similar for other distributions.
Root Access: Ensure you have root or sudo access to the server.
Domain Name: A registered domain name is recommended for proper email routing.
Step 1: Update Your System
Start by updating your package lists and upgrading the installed packages to the latest versions. Open your terminal and run the following commands:
sudo apt update
sudo apt upgrade -y
This ensures that your server is running the latest software, which is important for security and stability.
Step 2: Install Dovecot
Now, you can install Dovecot and the necessary dependencies. Run the following command:
sudo apt install dovecot-core dovecot-imapd dovecot-pop3d -y
This command installs the core Dovecot packages along with the IMAP and POP3 daemon packages, enabling your server to handle email protocols.
Step 3: Configure Dovecot
Once the installation is complete, you will need to configure Dovecot. The main configuration file is located at /etc/dovecot/dovecot.conf. Open this file in a text editor:
sudo nano /etc/dovecot/dovecot.conf
Here are some important settings you may want to adjust:
Enable IMAP and POP3
Ensure the following lines are present and uncommented to enable IMAP and POP3:
protocols = imap pop3
Configure Mail Location
Specify where Dovecot should look for mail. The default is often sufficient, but you can change it to suit your needs. For example, if your emails will be stored in the /var/mail/vhosts directory, you can set:
mail_location = maildir:~/Maildir
Set Up SSL/TLS
For secure email transmission, it’s important to enable SSL/TLS. You can generate a self-signed certificate for testing purposes or use certificates from a trusted Certificate Authority (CA).
Add the following lines to enable SSL:
ssl = required
ssl_cert = </etc/ssl/certs/your_certificate.pem
ssl_key = </etc/ssl/private/your_private_key.pem
Configure Authentication
By default, Dovecot uses the system user accounts for authentication. You can configure it to use different methods (e.g., database) if needed. To keep it simple, ensure the following line is included to use PAM for authentication:
auth_mechanisms = plain login
Step 4: Configure User Mailboxes
Dovecot supports different mailbox formats. The most common ones are Maildir and mbox. In our configuration, we used Maildir. If you want to use the Maildir format, make sure the user accounts have a Maildir directory in their home folders.
You can create a test user and their Maildir folder using the following commands:
sudo useradd -m testuser
sudo mkdir /home/testuser/Maildir
sudo chown -R testuser:testuser /home/testuser/Maildir
Step 5: Start and Enable Dovecot
After completing your configuration, you can start the Dovecot service and enable it to run on boot:
sudo systemctl start dovecot
sudo systemctl enable dovecot
You can check the status of Dovecot with:
sudo systemctl status dovecot
If everything is set up correctly, you should see the service running without errors.
Step 6: Configure Firewall
If your server has a firewall enabled (like UFW on Ubuntu), you’ll need to allow traffic on the IMAP and POP3 ports (143 and 110, respectively). Run the following commands:
sudo ufw allow 143/tcp
sudo ufw allow 110/tcp
For SSL (IMAPS and POP3S), also allow these ports:
sudo ufw allow 993/tcp
sudo ufw allow 995/tcp
Step 7: Test Your Configuration
Once you have everything set up, it’s crucial to test your Dovecot server. You can use an email client like Thunderbird or a command-line tool like telnet or openssl to verify that you can connect to the server using the configured protocols.
For example, to test IMAP with SSL:
openssl s_client -connect yourdomain.com:993


