How to Set Up a Cloud Storage Solution with Nextcloud: Complete Guide

How to Set Up a Cloud Storage Solution with Nextcloud
In today’s digital age, having a reliable cloud storage solution is essential for personal and business needs. Nextcloud is an open-source platform that allows you to host your cloud storage solution, offering both flexibility and control over your data. This guide will walk you through the steps to set up Nextcloud, ensuring you have a secure and efficient cloud storage solution
What is Nextcloud?
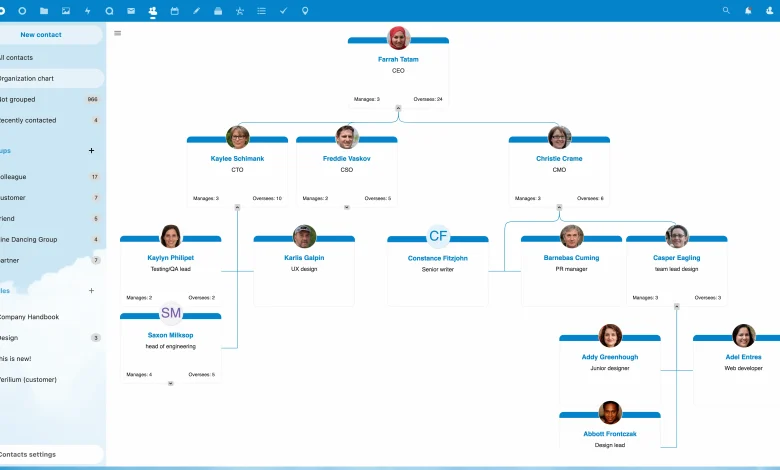
Nextcloud is a self-hosted cloud storage solution that provides file synchronization and sharing capabilities. Unlike other cloud services, such as Google Drive or Dropbox, Nextcloud gives you full control over your data. You can install it on your own server or choose a hosting provider that supports Nextcloud. With features like file sharing, calendar management, and collaborative editing, Nextcloud is suitable for both individual users and organizations.
Prerequisites for Installation
Before you begin the installation process, ensure you have the following prerequisites:
A Server: You can use a local server or a cloud-based server. For optimal performance, it’s recommended to use a VPS (Virtual Private Server) or dedicated server.
Operating System: Nextcloud is compatible with various operating systems, including Ubuntu, Debian, CentOS, and others. This guide will focus on Ubuntu.
Web Server: Nextcloud works with Apache or Nginx. You need to have one of these web servers installed.
Database: Nextcloud supports various databases, including MySQL, MariaDB, and PostgreSQL. Choose one that suits your needs.
PHP: Nextcloud requires PHP (version 7.3 or later). Ensure that the necessary PHP extensions are installed.
Step 1: Setting Up the Server
Update the System: Start by updating your server’s package list and installed packages.
sudo apt update
sudo apt upgrade
Install Necessary Packages: Install the required software, including Apache, MySQL (or MariaDB), PHP, and other PHP extensions.
sudo apt install apache2 mysql-server php php-mysql libapache2-mod-php php-xml php-mbstring php-curl php-zip php-gd
Start and Enable Services: Ensure that Apache and MySQL services are running and set to start on boot.
sudo systemctl start apache2
sudo systemctl start mysql
sudo systemctl enable apache2
sudo systemctl enable mysql
Step 2: Configuring MySQL Database
Secure MySQL Installation: Run the following command to secure your MySQL installation. This command will allow you to set a root password and remove anonymous users.
sudo mysql_secure_installation
Create a Database for Nextcloud: Log in to MySQL and create a database for Nextcloud.
sudo mysql -u root -p
Then, execute the following SQL commands:
CREATE DATABASE nextcloud;
CREATE USER ‘nextclouduser’@’localhost’ IDENTIFIED BY ‘password’;
GRANT ALL PRIVILEGES ON nextcloud.* TO ‘nextclouduser’@’localhost’;
FLUSH PRIVILEGES;
EXIT;
Replace ‘password’ with a strong password of your choice.
Step 3: Downloading and Installing Nextcloud
Download Nextcloud: Navigate to the /tmp directory and download the latest version of Nextcloud.
cd /tmp
wget https://download.nextcloud.com/server/releases/nextcloud-24.0.0.zip
(Make sure to replace the version number with the latest one available.)
Unzip the Downloaded File:
unzip nextcloud-24.0.0.zip
Move Nextcloud to the Web Directory:
sudo mv nextcloud /var/www/
Set Permissions:
sudo chown -R www-data:www-data /var/www/nextcloud
sudo chmod -R 755 /var/www/nextcloud
Step 4: Configuring Apache
Create a New Configuration File for Nextcloud:
sudo nano /etc/apache2/sites-available/nextcloud.conf
Add the following configuration:
ServerName your_domain_or_IP
DocumentRoot /var/www/nextcloud
Options Indexes FollowSymLinks MultiViews
AllowOverride All
Require all granted
RewriteEngine on
RewriteCond %{REQUEST_FILENAME} !-f
RewriteCond %{REQUEST_FILENAME} !-d
RewriteRule ^(.*)$ index.php?q=$1 [L,QSA]ErrorLog ${APACHE_LOG_DIR}/nextcloud_error.log
CustomLog ${APACHE_LOG_DIR}/nextcloud_access.log combined
Replace your_domain_or_IP with your server’s domain name or IP address.
Enable the Configuration:
sudo a2ensite nextcloud.conf
sudo a2enmod rewrite
sudo systemctl restart apache2
Step 5: Completing the Installation via Web Interface
Open Your Web Browser: Navigate to your server’s domain or IP address. You should see the Nextcloud setup page.
Create Admin Account: Fill in the admin username and password.
Database Configuration: Select MySQL as your database type, and enter the database details created earlier (nextcloud, nextclouduser, and the password).
Complete the Installation: Click on “Finish Setup” to complete the installation process.
Step 6: Additional Security Measures
To enhance the security of your Nextcloud instance, consider implementing the following measures:
SSL Encryption: Set up SSL to secure data transmission. You can use Let’s Encrypt for free SSL certificates.
sudo apt install certbot python3-certbot-apache
sudo certbot –apache
Regular Backups: Ensure you have a backup strategy in place for your data and database.
Update Regularly: Keep your Nextcloud installation and server packages up to date to protect against vulnerabilities.


